Screenshots - mini tutorial
The "Lee and Jack" Screenshot is a good example because I had a floor plan to work from.
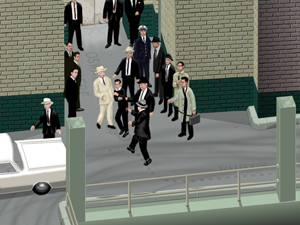
The finished Screenshot.
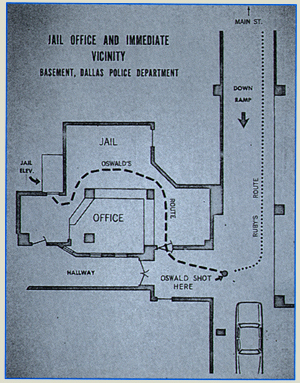
First - scan the floor plan.
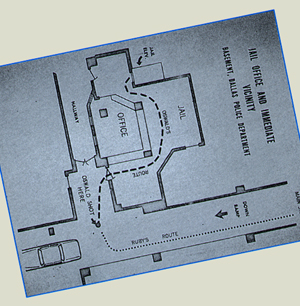
Rotate the plan until it is oriented the way you want it.
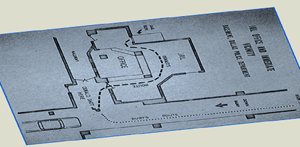
Use Scale to compress the image vertically. This compression creates the illusion that the scene is being viewed from the side.
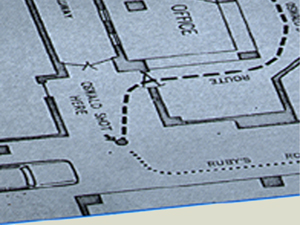
Use Crop and Image Size to frame the part of the plan that will become the drawing.

Draw a vertical line - make it as long as the height of the wall. Copy and paste the line, placing a copy at each corner on the floor plan.
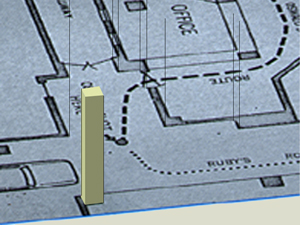
Use the Polygonal Lasso Tool and the Fill command to draw surfaces.
That's the main stuff. A few other tips....
- - Surface Textures
- I usually draw them straight on, then use the Shear or Distort commands to match them to the surface.
- - Name your layers
- some of the screenshots had close to 100 layers, very difficult to keep track of without descriptive names.
- - Figures are just drawn freehand.